Showing posts with label paper piecing. Show all posts

Monday, 5 October 2015

A Finished Instagram Swap


Do you take part in quilting or sewing swaps?
I did my first one earlier this year, have just finished a second, and I'm signed up to one more, which i need to send out at the beginning of November.
I'm not sure I shall do any more, at least for a while. I'm in two minds about them. I think their success depends very much on everyone fully participating. I've done mine through Instagram and I think if your partner doesn't really show inspiration boards in their feed or updates on their progress then your swap experience can be rather underwhelming.
I've decided the best way forward is to use them as a means to stretch my skills, rather than worry too much about whether I've made something my partner will love. 
I always imagine I'm going to get someone with the same level of enthusiasm as me, but if they don't post any sewing related photos, you really don't know what their taste is, so it's hard to come up with something you're certain that they will like! 

These are the items I made for my second swap.
I designed this mini in EQ7. I paper pieced it, and I must admit the mariner's star was a lot easier to construct than the diamond border.


I quilted it with lines about 1/4" apart echoing out from the centre. I love quitting minis. It's a good chance to practice something you might not have the time or inclination to do on a whole quilt.


I also had good fun making the quilt label. The flower centre is the same design as the centre of the mariner's star.
Note: the buttons aren't sewn on. They are just placed their temporarily to hide the name of the recipient. I don't want to spoil the surprise!


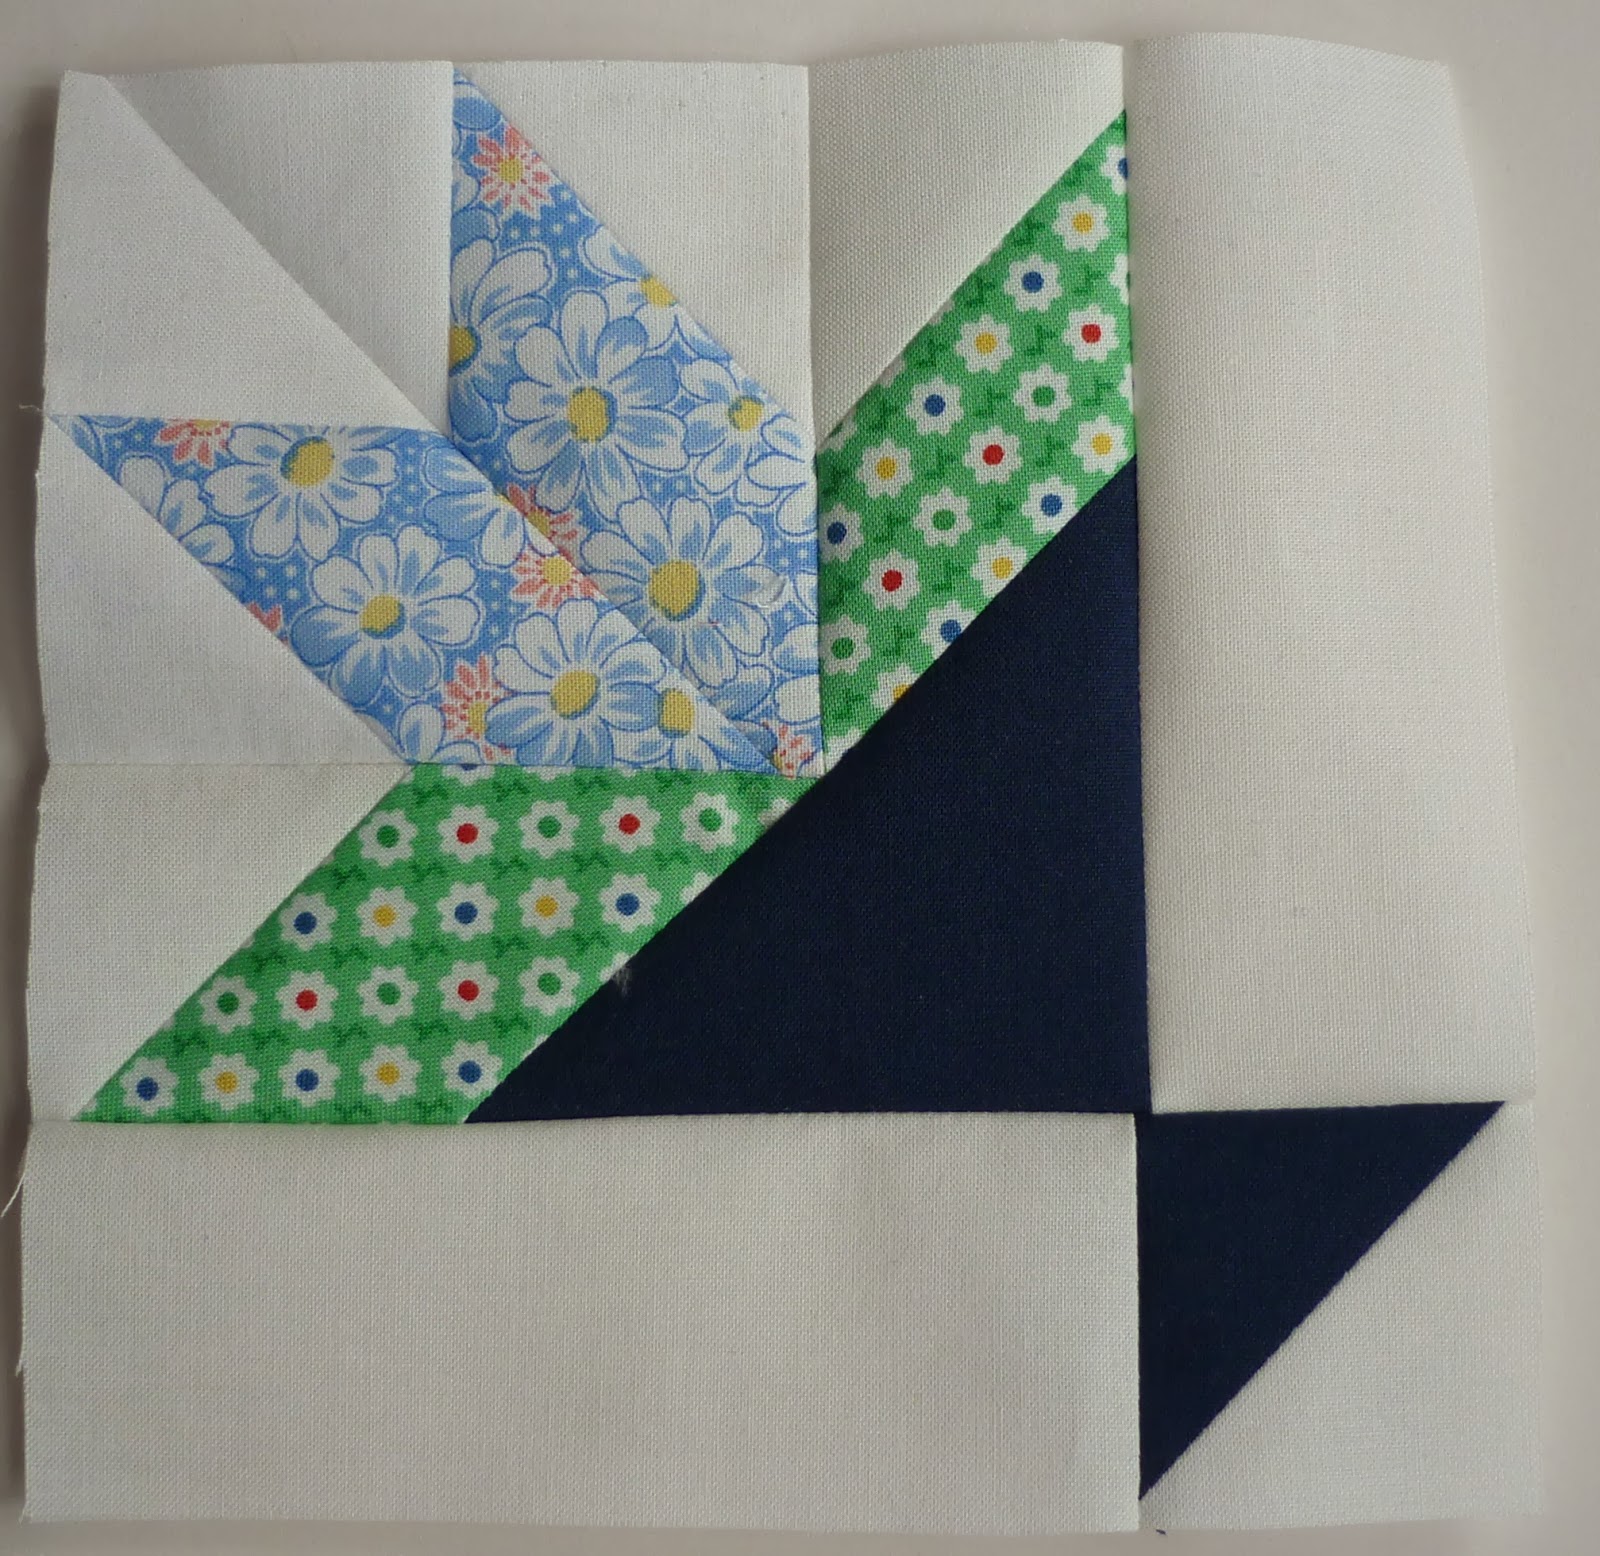
I then let doubts creep into my mind, and certainly didn't follow my own advice. Was this the sort of thing my partner would like? I wasn't sure. So I made a table topper for her too. I used one of the large designs in the Farm Girl Vintage book by Lori Holt.


This was a fairly quick make, especially as I did wavy line horizontal quilting from edge to edge. No threads to sew in!


And finally, I also included a dumpling pouch. There is a free pattern for these at Michelle Patterns
They are really easy to make. I used scraps and the "quilt as you go" method for this one. I'm pleased with the results.

                                    
So that's my swap package all complete. I do hope my partner likes what I've made her, and I did have fun making them! 


Monday, 14 September 2015

The Farmer's Wife 1930's Quilt Along


Good morning! I'm really excited to share the start of my journey on yet another quilt-along today.
The Farmers Wife 1930s quilt-along starts today and is organised by the wonderful  Kerry at VeryKerryBerry This girl is so organised!

We are following The Farmers Wife Sampler Quilt book by Laurie Aaron Hird. This is a different book to the original Farmers Wife Sampler Quilt book. The layout looks similar, and all the blocks have accompanying letters from the time, but all the blocks are new and the accompanying CD has paper piecing templates as well as regular piecing templates.
Many of the blocks are very intricate! So much so that I hesitated as to whether I would manage this without a great deal of unpicking and frustration. I don't like using regular templates when working blocks as intricate as these, but paper piecing is a much more successful method.


I have chosen to make my quilt entirely from Liberty lawn using a limited palette of blues and aqua.
This was quite a scary decision. I've never bought so much Liberty in one go!
It's important to me to have plenty of solids or near solids in my design. I'm not really a "throw it all in the mix" kind of girl.

Finding solid Liberty lawn was a little challenging. I could have taken a trip to the shop itself but whilst that would have been absolutely wonderful, I didn't trust myself to focus on the task in hand once I was in the store. I may well have returned home with a gorgeous but totally unplanned for selection!

In the end I bought all my fabric online from Alice Caroline


One of my chosen solids is on back order, so I'm having to use the aqua solid for now, but I'm sure all will work out in the end.

We are working through the book in order and Kerry posts about one block a week and a guest blogger about a second. If I want make all the blocks it will take about a year!
I am thinking about making a smaller number and just having a panel of blocks vertically offset with the rest of the quilt plain white tana lawn. 

This is most definitely going to be an heirloom quilt, but I do want it to be design led rather than ending up as something none of my kids actually want to put on their bed once I'm no longer around!
I will make the design decision once I have a few more blocks under my belt.

Paper piecing was so easy with the fine Libery lawn.

Block No. 1 Addie

Every block has an accompanying letter about life in the 1930s in the USA. The letter for this block written in October 1930 by a woman who has just moved to the country says 
"I have no modern conveniences, yet, as I had in town; still I am happier than I have ever been before."......."With my two babies to look after, six acres in the garden and corn to keep clean, water to carry 200 yards uphill and canning to do, I cannot find time to read the stories...."
Seriously! This woman puts me to shame! We don't know how lucky we are with all our technology today!

Block No. 2 Aimee
Aimee was a little more difficult to piece, but I like it much better than the first.
The letter accompanying this block is by a farm lady who is an avid book reader (she obviously has more time than the first one!). Her favourites include Little Women by Louisa Alcott and Tess of the D'Urbervilles by Thomas Hardy. Aah! A lady after my own heart!

I shall be posting my blocks each week on Instagram. I figured if I'm going to spend a year making this quilt then I might as well record nature's changes in the garden and hedgerow as well. It will be good to look back and remember the seasons by the them.


Looking forward to sharing some more blocks with you soon!


Thursday, 20 March 2014

A Little Paper Piecing


Much as I have really wanted to start some dressmaking with the fabrics I bought and showed you last week, I've been really good and finished off some other projects first.
I have been making paper-pieced birds.


It had seemed such a nice idea at the time, but I had forgotten how long paper piecing takes to do.
Both these birds are from patterns I bought on Craftsy. The songbird in the top photo and the one below, is from the very talented Kristy who blogs at Quiet Play You can find the patterns here and here


I made each pattern twice, one facing each way, and I'm really rather pleased with them! I did question my sanity when I embarked upon that tiny section with the beak in it, but it was actually a lot easier than I imagined. 
I have a bit of a love-hate relationship with paper piecing. I love the precision of it all, and I love the process. You know it's going to work so you just sit back and enjoy it, but patterns as detailed as these can mean there is a lot of bulk at the back of some of the seams, and the back of the work just looks so untidy! And it always takes so much longer than regular piecing,…... which I always forget when I start it! I do think they were worth the time though, don't you? 


Once I'd finished them I embroidered a little eye on each bird.


Project done!


Pin It

Wednesday, 5 February 2014

Farmers Wife Quilt Blocks # 5 - 8

Farmers Wife Quilt Blocks # 5 - 8
This week I've been making progress on my Farmers Wife Quilt. I'm aiming to make 4 blocks in a session.
All started off well.
Farmers Wife Quilt Block # 5 Bat Wing
Block # 5 worked out just fine. I used the templates provided, but I decided I don't like them all that much and decided this would have been much easier if I'd just made two flying geese in the usual way and then added the other components.

Farmers Wife Quilt Block #6 Big Dipper
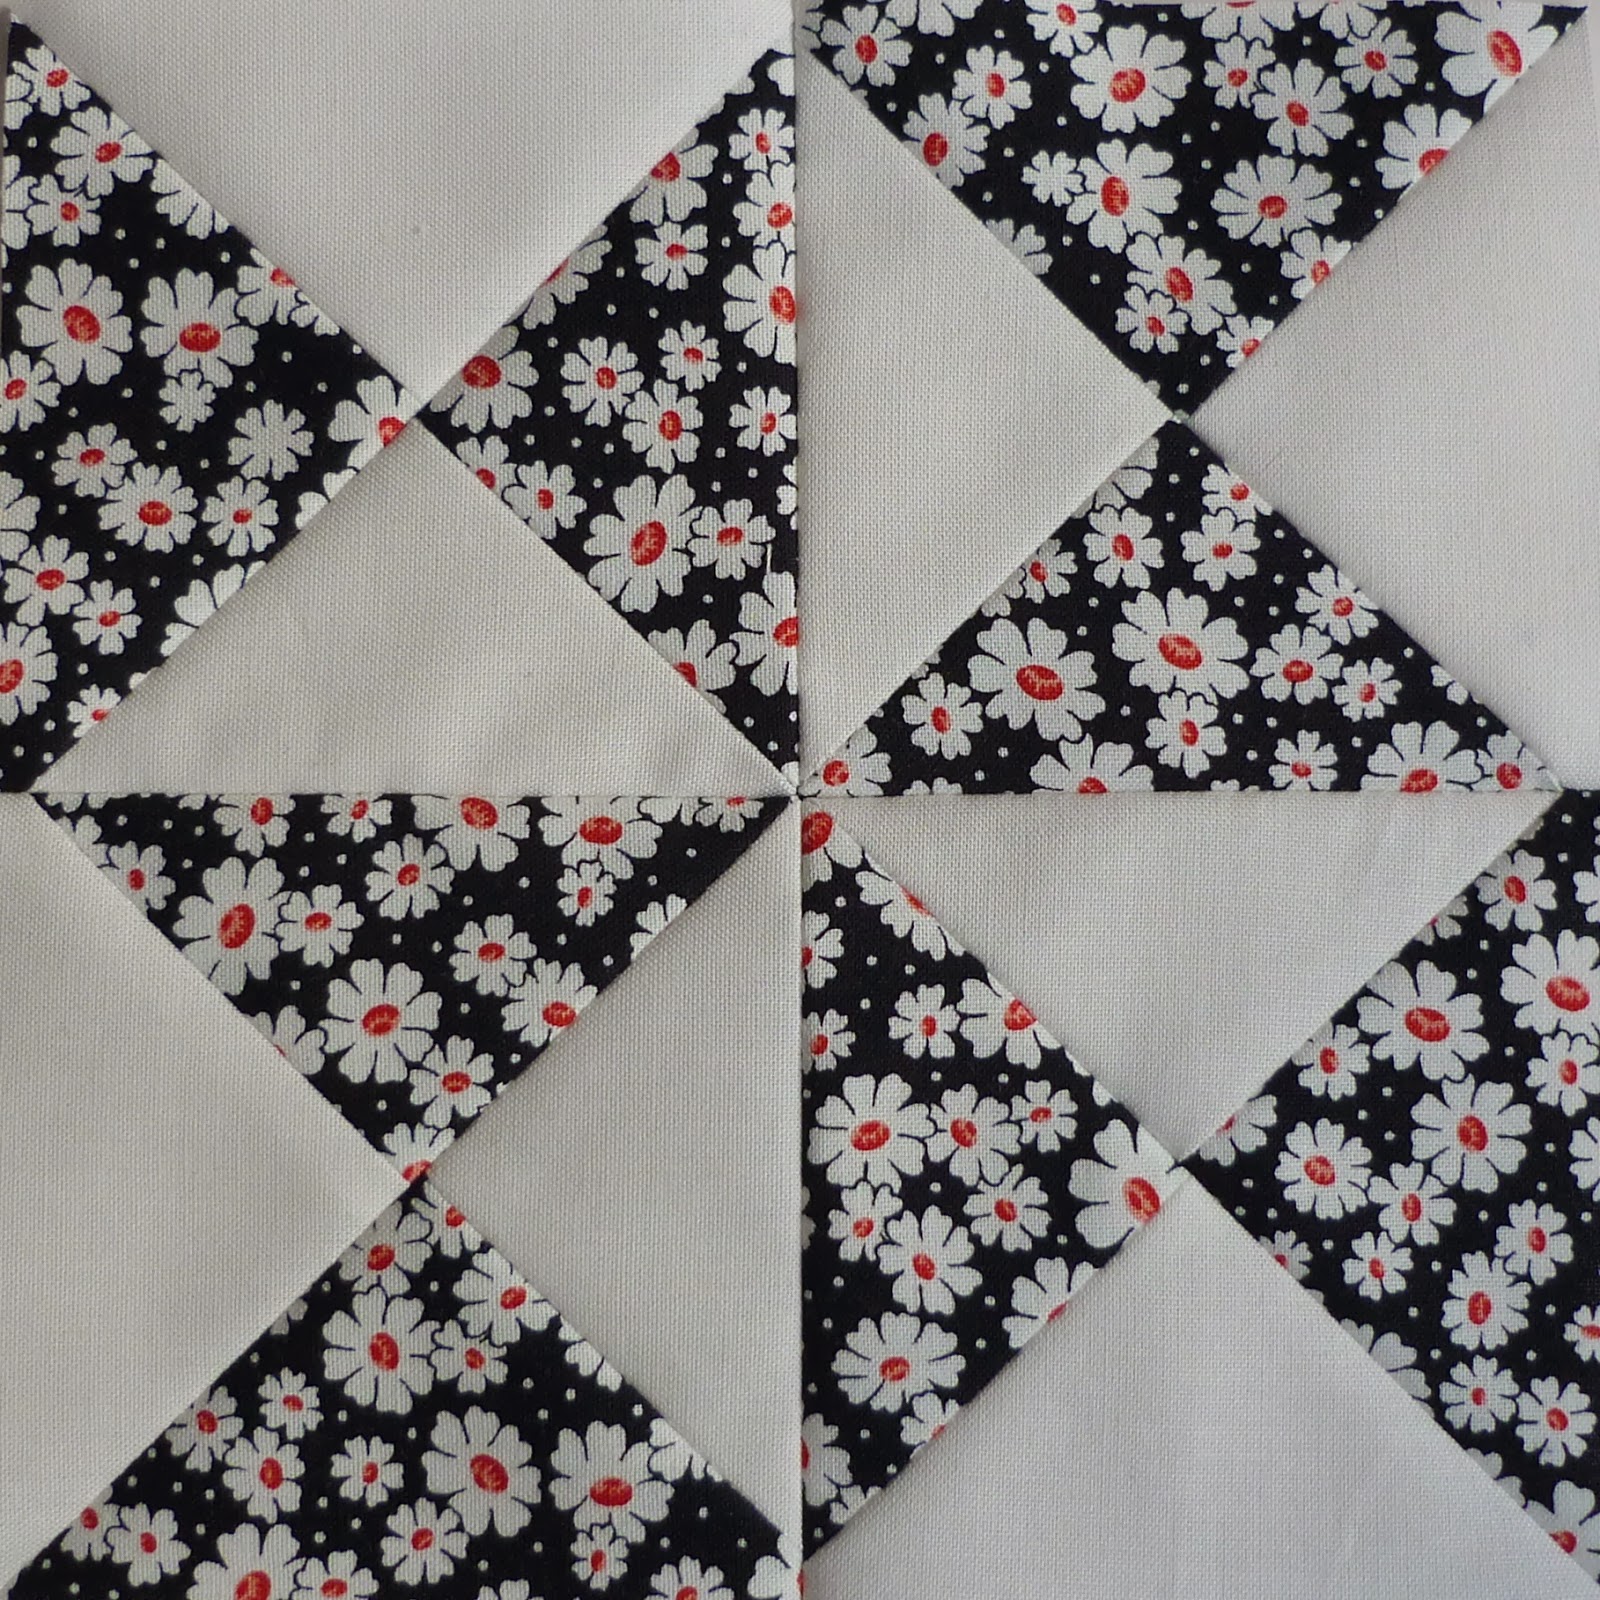
So for block # 6 I didn't use the templates, I just made 4 quarter square triangle blocks. My decision to press all seams open in this quilt seems to be paying off too.


The back of my work doesn't often look this neat. At this stage I'm feeling pretty pleased with myself!

Farmers Wife Quilt Block # 7 Birds In The Air
Aah! When I turned the page and saw what # 7 was I started to make excuses to myself. I've always been in awe of this block and my resolution to make all the blocks in order nearly flew right out the window. I started telling myself  "I haven't got time to make this one now" and "the light isn't good enough". Anyway, after a stern talking to, I did make the block.
I dispensed with the templates and made 12 teeny, tiny 1"(finished) half square triangle blocks.


I starched the fabric well, made them oversized and trimmed them. These looked so cute!
I assembled the 4 sections and was just about to sew them together when I noticed I had done this to one of them!


What on earth happened here I shall never know, but at least I spotted it before I sewed the sections together. 
Then it was time for block # 8. It didn't look too difficult, I ploughed on….


…..except, what on earth happened to the points on the flower? There was no seam allowance left, so they would be totally truncated when I joined the blocks together. I couldn't understand what I'd done wrong. I was tempted to leave it at is was. I was getting pretty tired of it at this point and wasn't sure that a second attempt would be any better than the first. I walked away and had a cup of tea. tea makes everything better, don't you think?
In the end I decided to paper piece this block.
i drew out the layout at the correct scale.


Then I photocopied it several times and cut it up into sections.
The paper piecing worked a lot better, although it was very time consuming in preparation time.

Farmers Wife Quilt Block # 8 Bouquet

Although I was totally fed up with all things Farmers Wife by the time I'd finished it, I actually like this version of the block, with a patterned background, much more than my first attempt.
So 8 blocks now complete, and put together, they look like this:

Friday, 14 June 2013

Mariner's Compass Cushion


Sometimes, no matter how carefully you prepare, things just don't go the way you planned.
When the June theme for Le Challenge was announced, I decided upon an idea (the theme is Maritime) and ordered some fabric from the US. I had plenty of time, and was fully expecting it to be here when I returned from Toronto, but, alas, it wasn't! A few emails later and the company informed me that my parcel had, for some unknown reason, been returned to them. They promised to re-send it, but this, of course, meant I had to completely re-think my project for the challenge. (This was Tuesday, so I only had 3 days in which to make something!!) I spent a day and a half dithering, wondering what I could make in the time, and then suddenly it struck me - a Mariners Compass block! I have wanted to have a go at one of these for a long time, but I certainly couldn't make a quilt in a day and a half. I settled on a cushion, found a paper piecing template and used fabric from my stash.
Time was short. I had to stay focussed and concentrate. No time for mistakes!
So, I selected my fabrics....maybe not my first choice, but what I had on hand....


I colour coded on an extra template and kept it prominently displayed on my desk


I made a list of which colour each numbered segment was, and kept that on my desk too


By the end of Thursday night 3 segments were done, and by Friday lunchtime all 8 were complete


Yes, the seam ripper did come out a couple of times, but they were only small mistakes !
Joining the segments together was a little tricky. Just how was I to cope with all those seams coming together at the centre?


They don't sit as perfectly as I would have liked, but under the circumstances, it could have been a lot worse.
I decided I didn't have enough time to make a cushion front and quilt it, as I had originally planned, so I decided to appliqué the compass onto an existing cushion cover.
Hmmm, Was this going to work? I only had a 1/4" seam allowance on the compass, and a lot of seams to turn smoothly under. No time for errors.
I decided to follow a technique used by Sarah Fielke in her latest book "Hand Quilted with Love"

                                       
You cut a cardboard template the size of the finished piece and place it on the wrong side of the applique. You then wrap tin foil around them and iron, pressing the seam allowance smoothly under.


I do recommend using good quality tin foil. Mine was from the "value range" and had a tendency to tear as I was pressing the edges as hard as I could with the iron. But nonetheless, considering all those seams, I think I got a pretty smooth curve to my circle.


Sarah suggests using applique glue to secure your piece to the background whilst you hand sew in place, but I prefer not to use chemicals where possible, so it was good old fashioned pins for me.


The cushion was finished by 7 pm - just in time to sit in the evening sun and enjoy a little celebratory drink (In the middle of all this fast sewing my son and his girlfriend had phoned me from their holiday in Cornwall to tell me they had got engaged !!!)


Cheers !!

Pin It

Monday, 15 April 2013

Le Challenge #1 Geometrics

Finally the day has arrived when we show our entries for Le Challenge. This is a new challenge run by Nat from Made In Home and Lucy from Charm About You and the subject of the first challenge was Geometrics.You can use any craft you like in this challenge so no matter whether you are a sewer, quilter, knitter, embroiderer, paper crafter or whatever, why not take a look and possible join in with the next month's challenge.

This is my entry:

Pin It
It is a table mat made using the paper piecing method if quilting. I had never done this type of piecing before so I headed along to Craftsy and found that This Free Class has a tutorial for the Circle of Flying Geese which I have had my eye on for a long time.
I had a bit of a pre-conceived idea that paper piecing was time consuming and fiddly but Amy Gibson, the tutor quickly dispelled that myth and I loved the technique. It gives such sharp and acccurate piecing lines, although I do think it's a little wasteful of fabric compared to rotary cutting piecing. I loved the technique though, and I know I'm going to using it a lot in the future.
I printed off the downloadable templates and chose my fabrics
I chose to use Klona Solids from Backstitch.  It's a very economical fabric at just £5.80 metre and there is a wide range of colours. This meant I wasn't going to stress if it all went horribly wrong - which I'm pleased to report.... it didn't! I did take the precaution of labelling all the fabrics with the numbered section they were going to be used for, and I'm very glad that I did.
First you unthread your machine and perforate all the sections of the template so they will tear off easily when the block is complete.
Next you sew you fabrics to the underside of the template along the marked lines, progressing from number 1 to number 2 etc until you have completed the block (which is actually one quarter of what you see on the finished table mat)
Once I had completed the block I treated it as a mini quilt and made a quilt sandwich with solid grey Kona on the back and wadding in the middle.
I shadow quilted around the geometric shapes, which helps define them and also produced an eye catching quilted star shape in the middle
I used some organic Happy Drawing Scribbles by Ed Emberley in Grey for the binding. I originally bought it from The Village Haberdashery but I notice that they only have a blue and green version left in stock now.
 
I like the look of the quilting on the back
 
I didn't really know where I was going to use this mat when I started, but at present it stands in pride of place on the coffee table, complete with a little bunch of knitted daffs from my pattern wehich you can find here. I'm so pleased I chose grey for the background. I started off thinking off white or black, but neither of those would have fitted in with the house as well.
 
I'm linking this post with Le Challenge and really looking forward to finding out what the next challenge will be.
Did you notice the new header and cleaner line to my blog? (Well, what else is a gal to do when it starts to rain on a Sunday afternoon when she hoped to spend it gardening?)
 
Till next time..................Julie
 
Follow on Bloglovin 


LinkWithin

Related Posts Plugin for WordPress, Blogger...